Are you looking for an easy alternative to the traditional pastime of knitting? If so, it’s time to swap out the needles for your arms. Whether you’re an avid knitter or just starting out, this project is perfect for you. Although this method is scarf-specific, this technique may be used to knit other items such as blankets or knitted-ponchos.
A/ Making the Knot
1/ Start with two skeins of yarn, and find the ends.
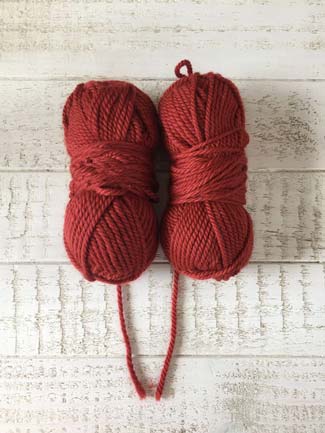
- These two skeins should be treated as if they were one, so make sure the two ends line up.
- Before you start, make sure the yarn can unfurl from the skeins easily.
2/ Leave approximately four feet of each skein for the tail of the scarf.
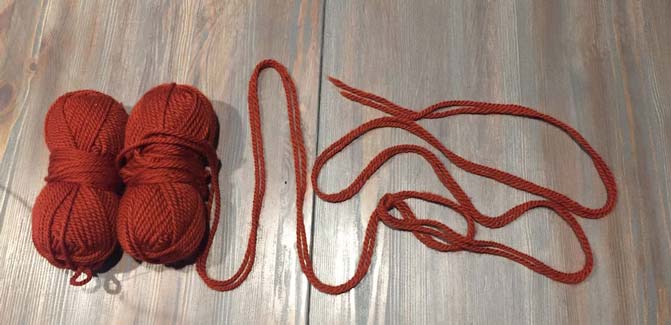
- The yarn attached to the ball is the working yarn.
- Make sure the working yarn is to your left, and the tail is to your right.
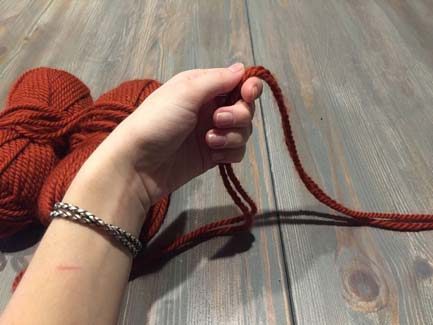
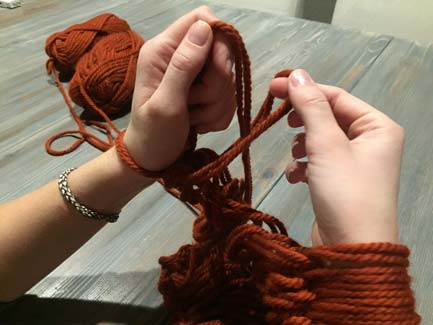
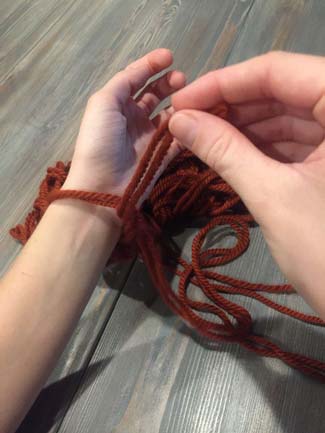
3/ Start the slipknot by holding the working yarn in your left hand so that your palm is facing you.
4/ Take the tail over the working yarn and make a loop.
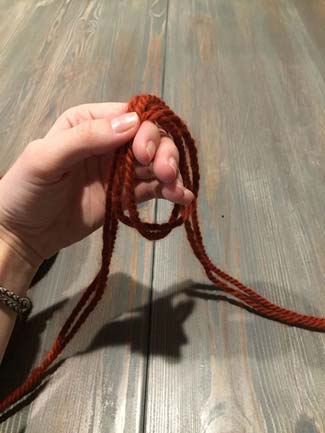
5/ Pull the tail yarn through the loop, and pull tight to finish the knot leaving a loop at the top.
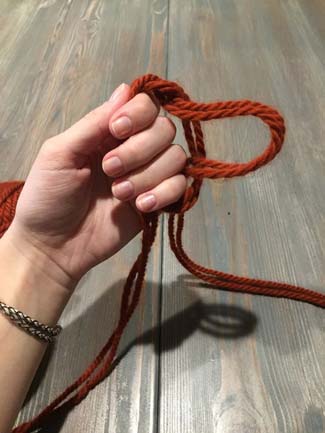
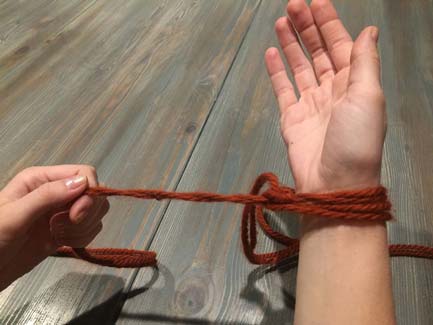
6/ Place the loop over your right arm and tighten around your wrist.
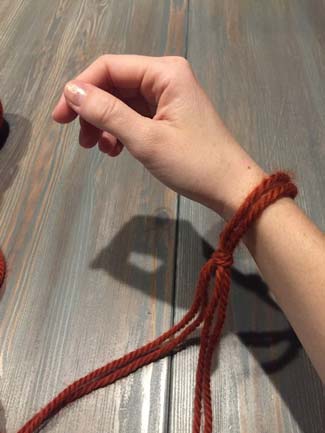
- Make sure the loop is loose enough to move up and down your wrist. You do not want the loop to be too tight.
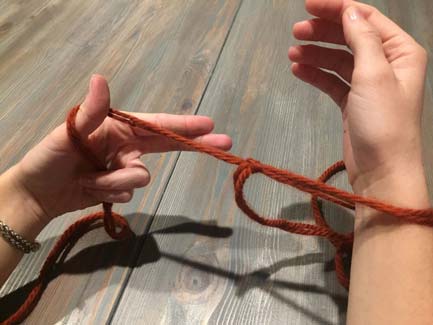
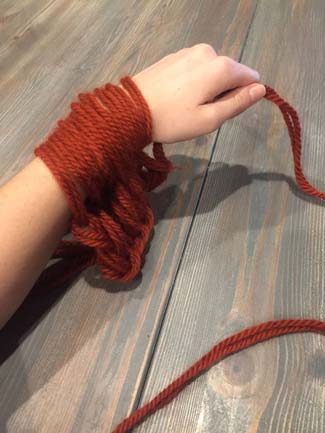
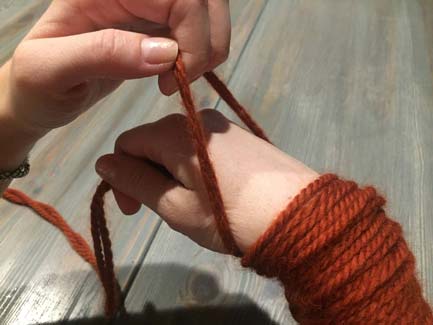
B/ Casting On
1/ Separate the working yarn from the tail, holding the working yarn in your left hand.
- Make sure the tail is to the right of you.
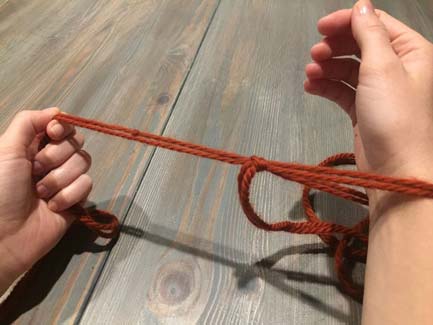
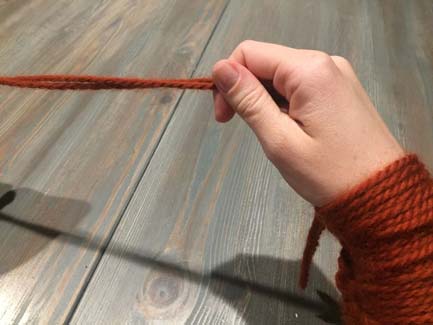
2/ Hold the working yarn in your bottom two fingers of your left hand.
- Your thumb should be pacing up, and your index and middle finger should be pointing towards your right hand.
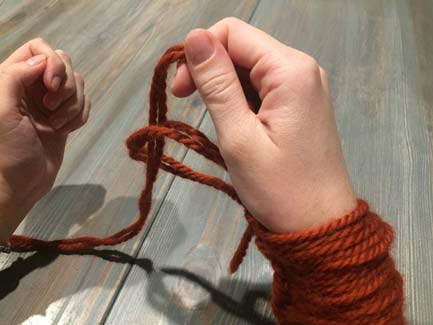
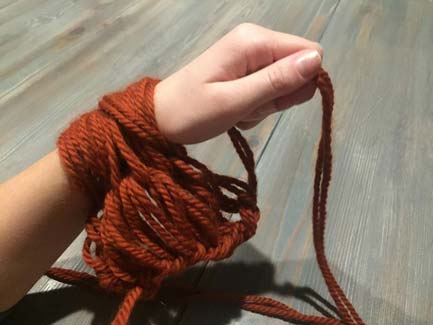
3/ Wrap your thumb over and under the working yarn.
- The yarn should be wrapped around your thumb and held between your bottom two fingers.
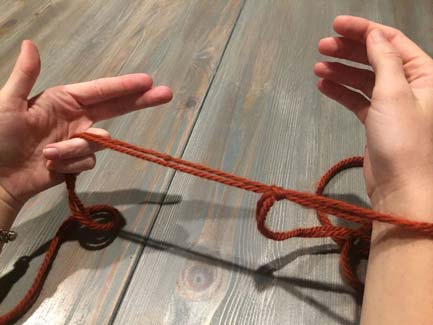
4/ Take your index and middle finger of your left hand and grab the tail yarn between your two fingers.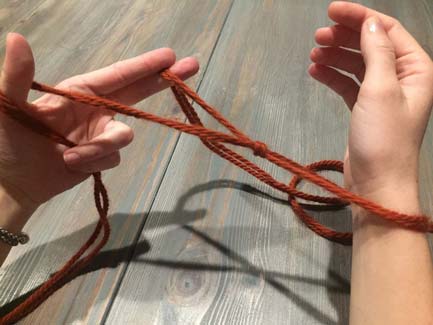
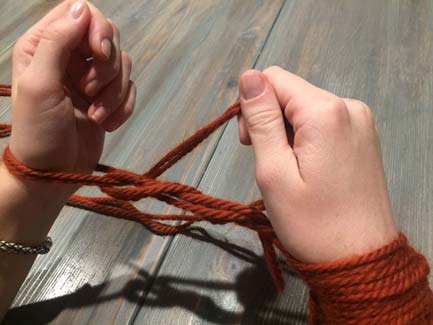
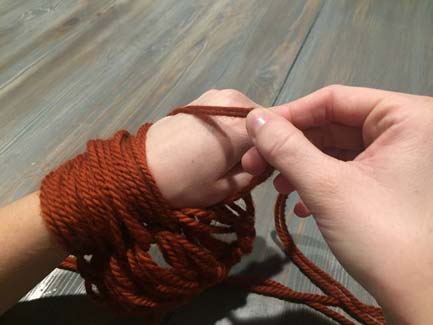
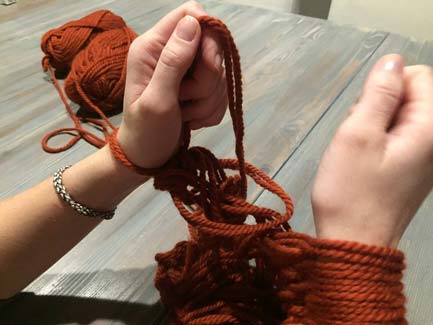
5/ Wrap your right fingers under the yarn that is touching your palm (the yarn that is being held between your thumb and bottom two fingers), and pull through making a loop.
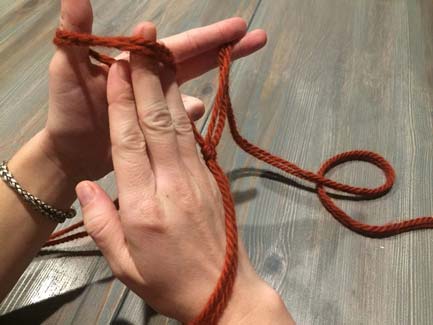
6/ Grab the tail yarn with your right fingers, then pull the tail yarn towards you through the loop.
- When pulling the yarn through the loop, the yarn should come off of your thumb.
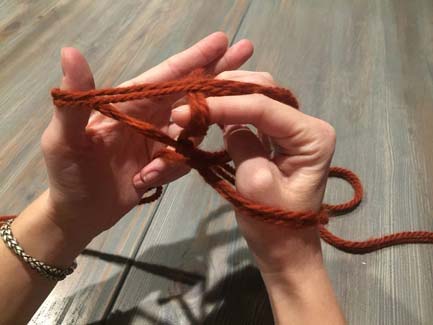
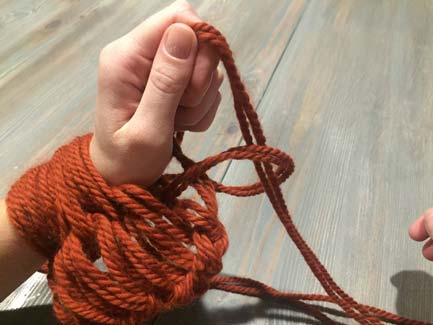
7/ Place the loop over your right wrist.
- Pull the loop tight.
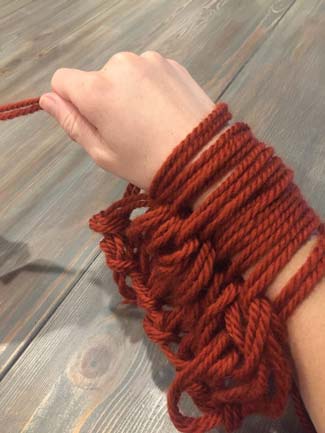
8/ Repeat this process between ten and fourteen times.
- The amount of times that you repeat the steps will determine the width of the scarf.
- The more you repeat these steps, the wider the scarf.
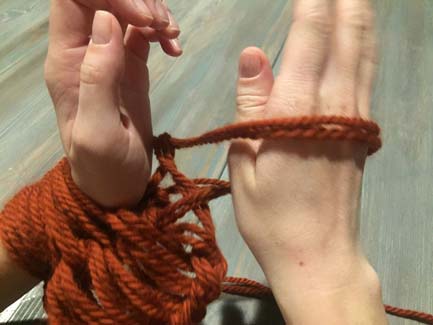
C/ Knitting Rows
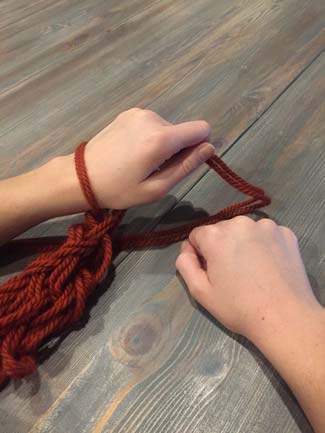
1/ Begin your first row.
Hold your working yarn between your thumb and index finger of your right hand.
2/ Pick up the first stitch on your right wrist with your left hand.

3/ Pull the stitch over the yarn you are holding in your right hand, and let go.
- Do not let go of the loop you are holding in your right hand.
- Only release the yarn you pulled over with your left hand.
4/ Place the loop you are holding in your right hand over your left wrist and tighten.
5/ Repeat this process until all of the stitches from your right arm are now on your left arm.
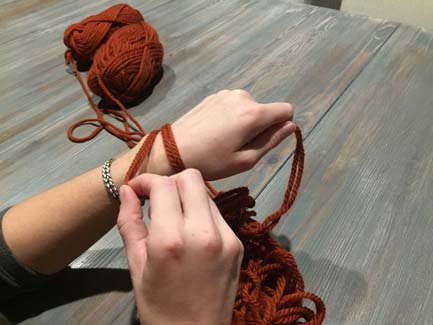
6/ Begin your second row.
To do this, hold the working yarn between your thumb and index finger of your left hand.
7/ Pick up the first stitch on your left wrist with your right hand.
8/ Pull the stitch over the yarn you are holding in your left hand, and let go.
- Do not let go of the loop you are holding in your left hand.
- Only release the yarn you pulled over with your right hand.
9/ Place the loop you are holding in your left hand over your right wrist.
10/ Repeat until all of the stitches from your left arm are now on your right arm.
- Remember, you should have the same number of stitches that you started with.
11/ Repeat rows one and two until you have achieved the desired scarf length.
- Row one is moving stitches from your right arm to your left.
- Row two is moving stitches from your left arm to your right.
- Two skeins of yarn will make a scarf long enough to wrap around your neck once. If you want to make an infinity scarf, join another two skeins of yarn by tying them to the original skeins.
- Make sure you finish with row two so that the yarn is on your right wrist to start casting off.
D/ Casting Off
1/ Hold your working yarn between your thumb and index finger of your right hand.

2/ Pick up the first stitch on your right wrist with your left hand.
Pull the loop over the yarn you are holding in your right hand, and let go.
- Do not let go of the loop you are holding in your right hand.
- Only release the yarn you pulled over with your left hand.
3/ Place the loop you are holding in your right hand over your left wrist and tighten.

4/ Repeat this process so that you have two stitches on your left arm.

- You should never have more than two stitches on your left arm when casting off.
5/ With your right hand pick up the second stitch on your left arm (the one closest to your elbow).
6/ Pull the stitch over your left hand.
7/ Let go of all the yarn and tighten by pulling on the working yarn.
- You should be left with one stitch on your left arm.
8/ Repeat the process of this entire section so far to move a stitch from your right arm to your left arm.

- After this step, you should have two stitches on your left arm.
9/ Repeat the previous step.

- You should be left with only one stitch on your left arm.
10/ Continue the same method until you have one remaining stitch on your left arm.
- You are alternating between knitting a “normal” stitch from your right arm to your left one, and then pulling the second stitch over the first one on your left arm.
11/ Cut the working yarn leaving approximately two feet.
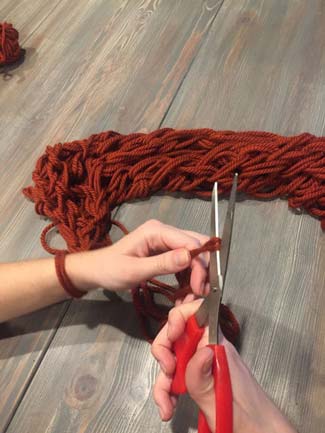
12/ Pull the cut end through the final loop on your left arm, take the loop off of your arm, and pull tight.
E/Finishing Scarf
1/ Thread the cut end of the yarn through a needle.
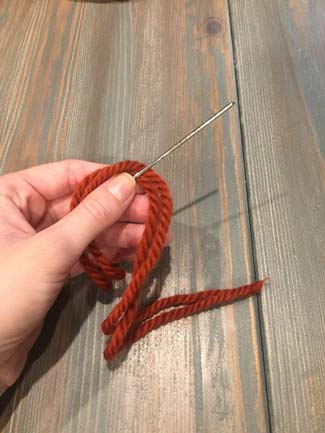
2/ Match up the edges of the scarf and sew the two ends together.
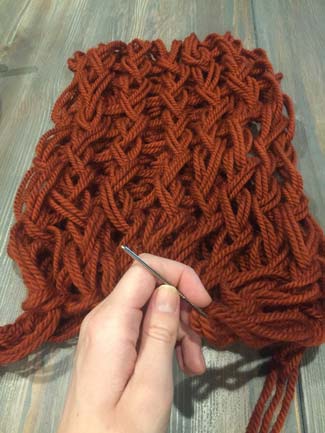
3/ Turn the scarf inside out and sew through any loose ends.
Tips
- If you run out of yarn before achieving the desired length, you can join another skein by knotting the two skeins together.
- Do not make the knot on your arm too tight. The tighter it is, the harder it is to work with.
- The tightness of the knot determines the size of the stitch in the scarf, so adjust the tightness depending on the desired look.
- Keep count of your stitches. Each row should contain the same number of stitches you started with.
Things You’ll Need
- 2-4 skeins of bulky yarn
- Scissors
- Darning needle
Where to buy yarn
In Japan:
- 100円
- Amazon japan: here
International :
- Dollarama (Canada)
- Dollar Tree (US)
- Amazon: here